Users may choose to have a risk pillar within your Customer Risk Assessment based on the values associated with the Delivery Channels and Face-to-Face options in your setup.
The Interface risk pillar is a common example of the pillar that is used to collate these values for the assessment.
Step 1: Configure Face-to-Face Options
There are different ways in which you can track whether a client is serviced on a face-to-face basis within the system. This chapter assumes that you are using the face-to-face options defined in the Risk Settings.
First, the users should go to Settings and then click on Risk Settings under the Risk Assessment section. Then, users should locate the Definition of Face-To-face widget and click the Edit button in the top right to change these values.
Note that if this option is not available within your environment, you will see the message “This option is not enabled on your account.”, in which case you would have to contact us before proceeding any further with the steps detailed in this article..

There are three factors that go into the face-to-face status of an entity.
1. Level at which face to face is defined
This refers to whether you will choose the face-to-face status for each entity, or if the face-to-face status will be defined by how many UBOs, Directors or Agents have been met face to face.
- Individual – this will cause the system to calculate the face-to-face status based on the individuals connected to the entity/client (i.e. UBOs/Directors/Agents) that have been marked as face-to-face.
- Entity – this will cause the system to take the face-to-face value assigned to the entity itself (including legal persons) as the face-to-face status, and will not factor in, the face-to-face status of the UBOs, Directors or Agents.

2. How is face-to-face status of non-individuals calculated
This is only necessary if the user is defining the face-to-face status at the individual level. The following options are available for users to select how the face-to-face value for non-individuals will be inferred automatically by the system:
- The highest risk across all UBOs (i.e. a non-individual would be considered to be face-to-face if all UBOs have been met);
- The lowest risk across all UBOs (i.e. a non-individual would be considered to be face-to-face if at least one UBO was met);
- The lowest risk across all UBOs and directors (i.e. a non-individual would be considered to be face-to-face if at least one UBO or director was met);
- The lowest risk across all UBOs and directors/agents (i.e. a non-individual would be considered to be face-to-face if at least one UBO, director or agent was met).

3. Face-to-face options
There are 2 sections to define options for face-to-face and non face-to-face, and in the example below, each one has one option defined (i.e. Yes and No). One of the sections is for when an individual is to be considered as having been met face-to-face, and the second option for when an individual is to be considered as not having been met face-to-face.

The user can add as many “Yes” and “No” types of options as they see necessary (e.g. Yes, through a video call). The options are ordered from the one with the least risk (i.e. the top option from the Face-to-Face options) to the one with the highest risk (i.e. the lowest option from the Non Face-to-Face options). Then the options settled here will be ordered in a matrix with the defined delivery channels and the user will be able to assign risk scores for all combinations of Y/N + Delivery Channel.
E.g. Face to face option “YES’”+ Delivery channel “Walk-in'”= Interface Risk 2
Once the user has finished setting up these options, he should click on Save at the bottom of the page to be returned to the interface risk pillar overview screen.
Step 2: Configure Delivery Channels
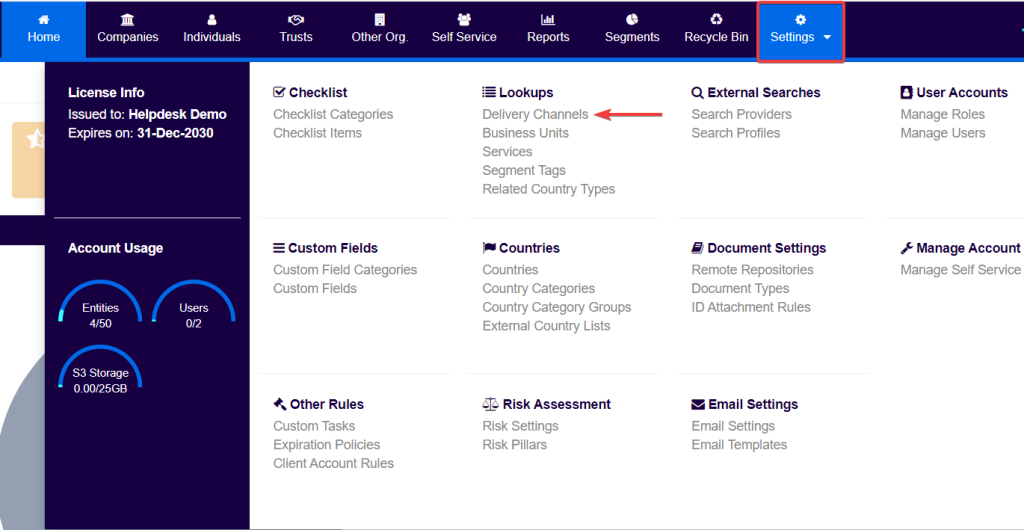
Next, the user will need to add appropriate delivery channels (e.g. walk in, referred by existing clients, or even a vetted intermediary). In order to do so, the user should first click on Delivery Channels within the Settings menu.
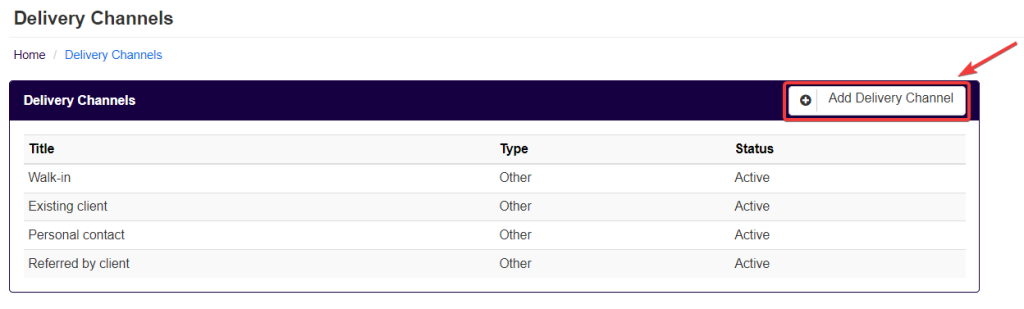
Then, users should click on the Add Delivery Channel button.
If the delivery channel is not of type Intermediary or Introducer, users should then select the option Other, and type in the name they wish to give to the delivery channel on the field Title (e.g. past client).
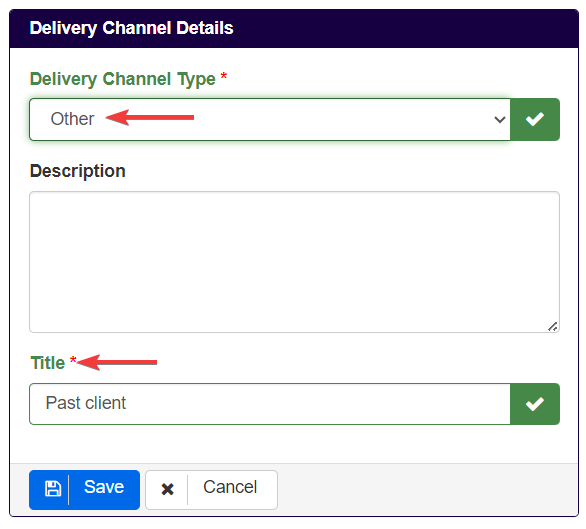
Finally, users should click on Save to add the new Delivery Channel.
Step 3: Configure Risk Scores
Lastly, users will now be able to add risk scores to all the combinations between the face-to-face options and delivery channels created.
For that users should first access the Risk Pillars feature from the Settings menu, and then select (or create) a risk pillar with Risk Pillar Type set to Interface.
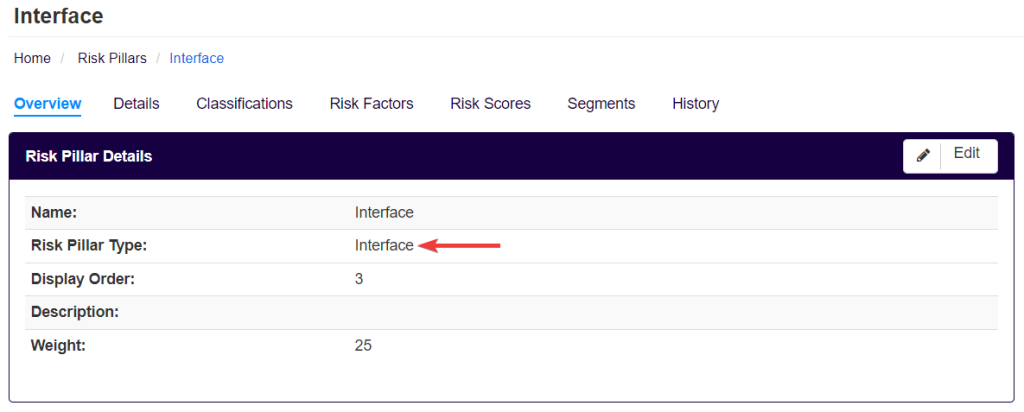
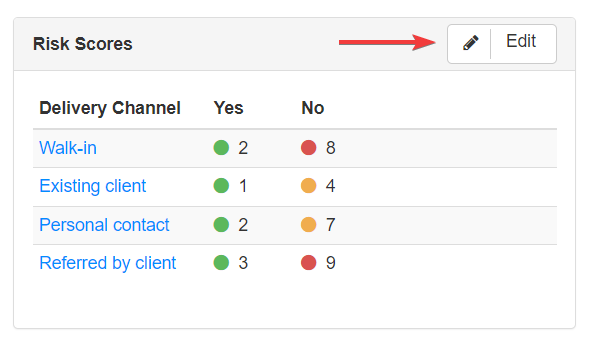
Then, in the overview screen of the Interface risk pillar, the user should be able to see, on the right-hand side, a risk scores’ section containing a table/matrix, like the one below, with all the combinations between delivery channels and face-to-face options. Users should click on the Edit button.
Users will the be redirect to a screen where they will be able to edit or assigned risk scores to the combinations of delivery channels and face-to-face options. They can do so by selecting a delivery channel row which will open a section to input risk scores for the face-to-face options combined with the selected delivery channel.
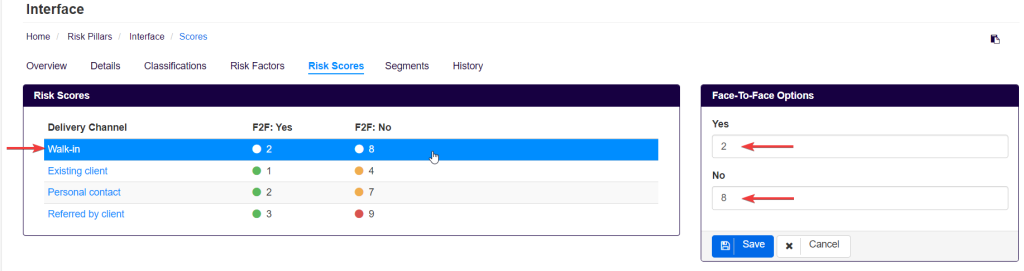
After defining all risk scores, users should click on Save.
N.B. In cases where simplified rules are not in use, users will have to manually create the relevant segments (see chapter 3).