Step 1
In order to add a Segment, users should first select Segments from the tabs at the top of the screen.
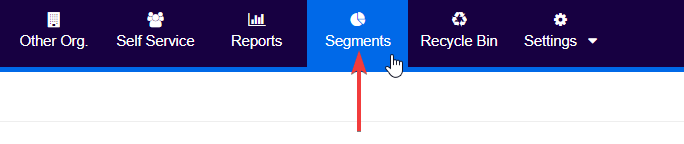
The system will then present a list of all the segments that are currently available.
Step 2
Next, users should click on Add Entity Segment at the top right of the screen.
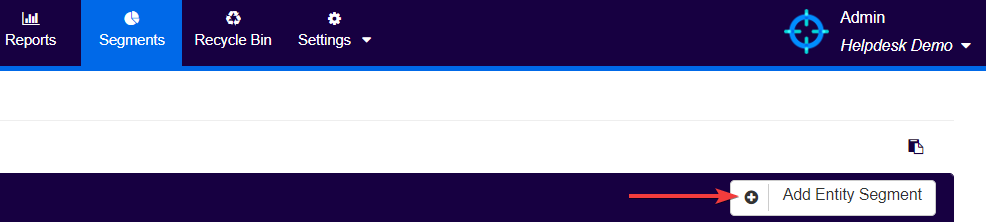
This will redirect users to the Segment Builder.
Step 3
Within the segment builder screen users should follow the below process:
- Input the Name*:
o Example Entities we offer Accounting Services to; - Add a brief Description of the entity segment, if desired;
- Select the Entity Type* to which the segment being created will apply to, amongst Company; Individual; Trust; Other Organizations or Entity (which includes all of them):
o Example select Entity; - Attach a Tag to the segment, if desired**:
o For example, Services.
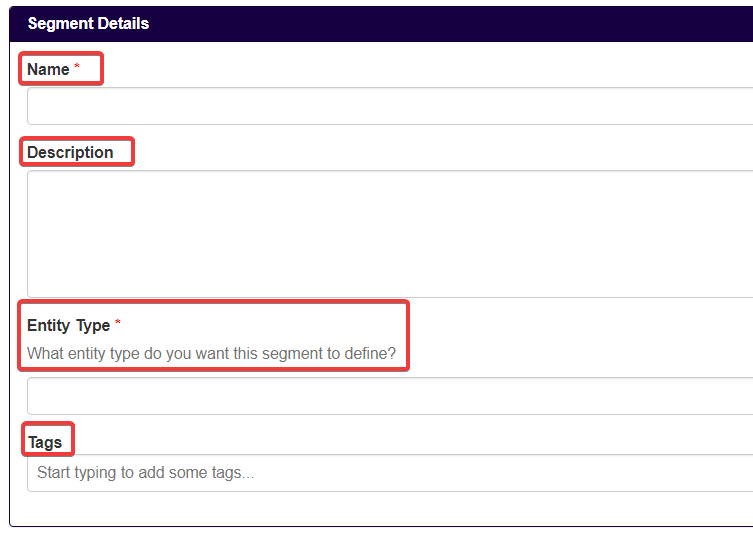
*Fields with a red Asterix (*) next to them are mandatory.
**Tags should be short and relate to the segment. This will assist in grouping and searching for different segments at a later stage
Users will then be required to add Filter Conditions to determine which entities should be included in this segment. Continuing with the example above (Entities we offer Accounting Services to):
- Users must click on Add Condition;
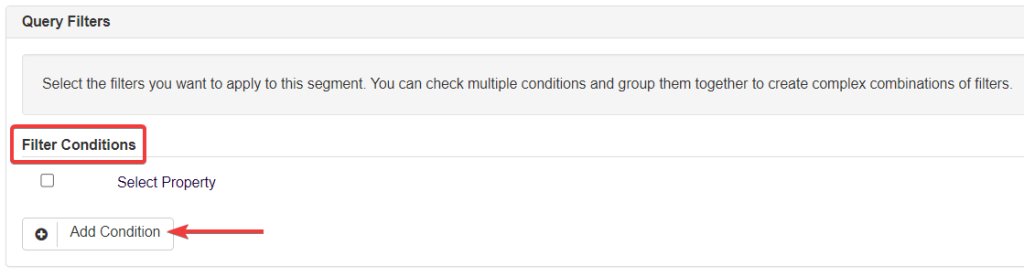
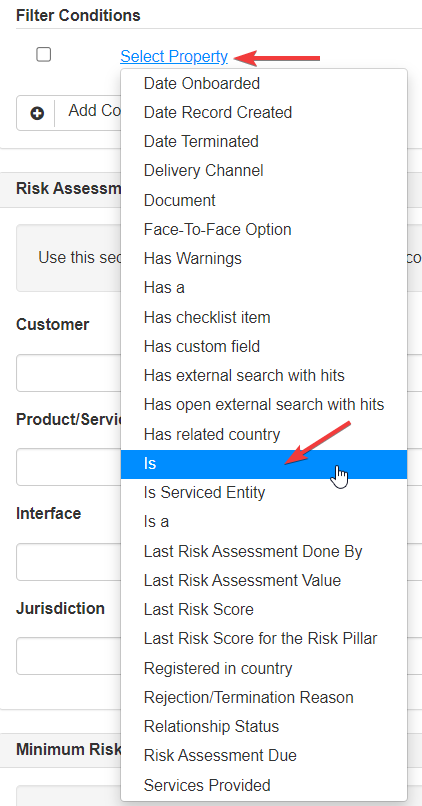
- Then users should click on the following:
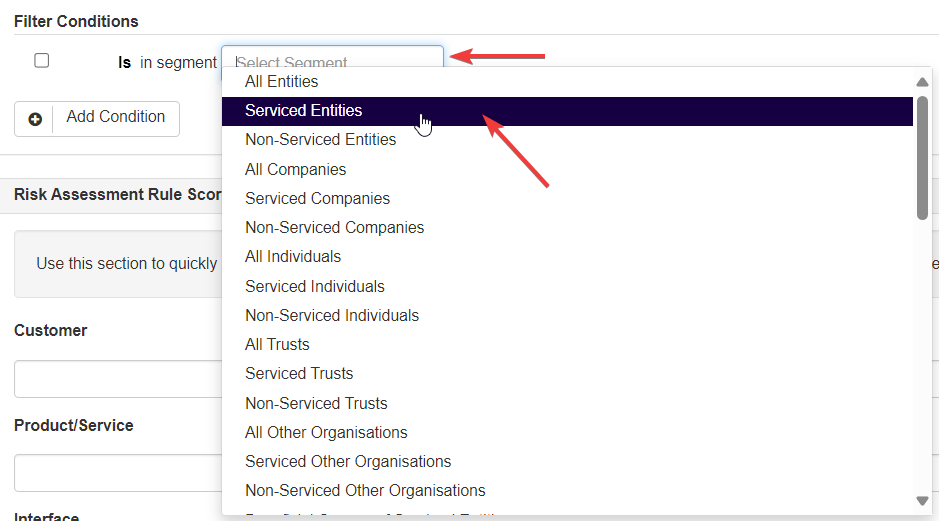
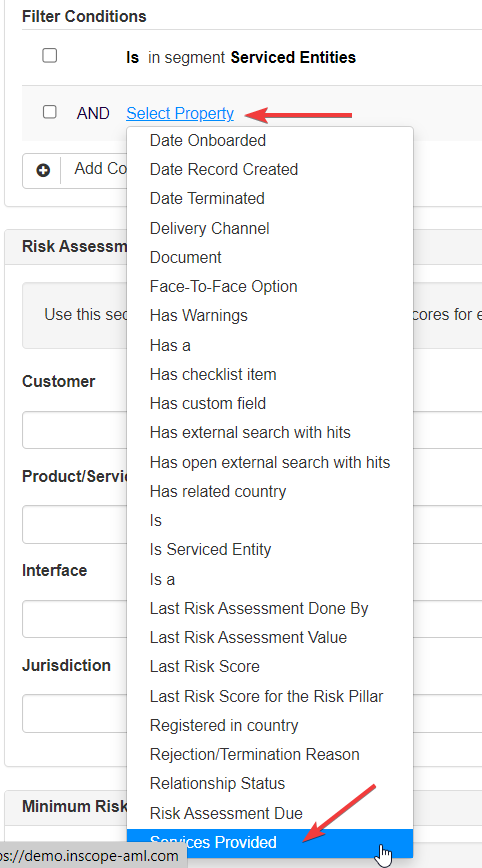
- Select Property – Is (in segment will appear after this is selected, as the system allows interconnected segments);
- Select Comparer – Serviced entities.
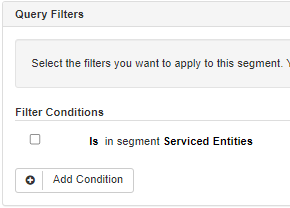
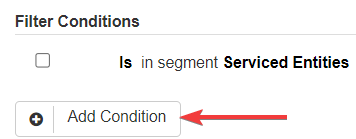
For this example, users will then need to add another filter condition.
To add further to the segment, users can click on Add Condition once again.
- Then, click on the following:
- Select Property – Services provided
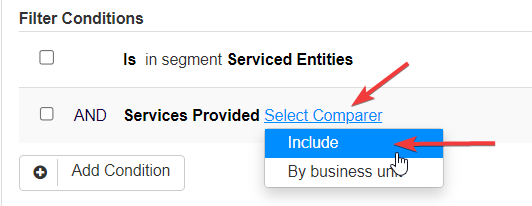
- Select Comparer – Include
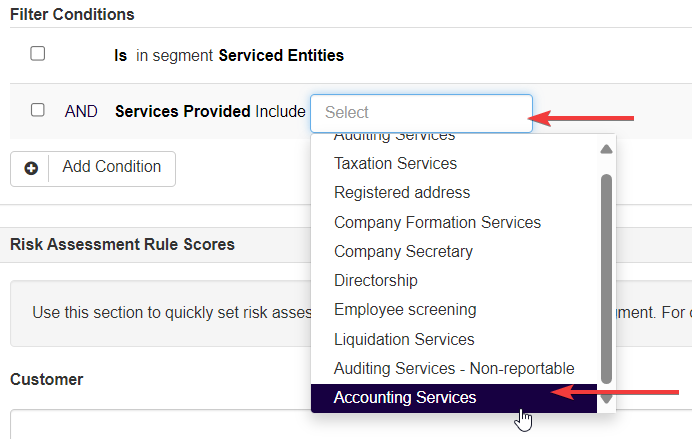
- Select Enter Value – Accounting services
Users should ensure that the condition AND is selected on the left of the filter conditions. This is because this segment requires both conditions to be effective simultaneously, for this particular segment.
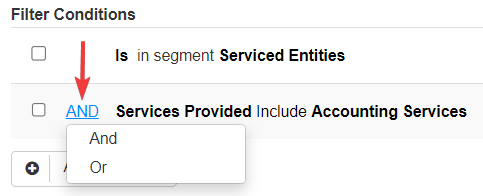
The OR condition is used to include both conditions, simultaneously or not, as they are considered separately. For example, entities you provide either accounting OR directorship services to. Entities that have both services will be included alongside entities that have either one attached.
Lastly, users can save the segment in the system by clicking on the Save button at the bottom left of the page.

Step 4 (Optional)
As described here, the system may be configured to use simplified risk scores. If this is the case, users will not need to assign a risk score to a segment that is created. However, if required (e.g. you are not using simplified risk scores, or the system is using simplified risk scores but users need to add more complex segments that include risk scoring), a risk score can still be assigned to the segment during creation.
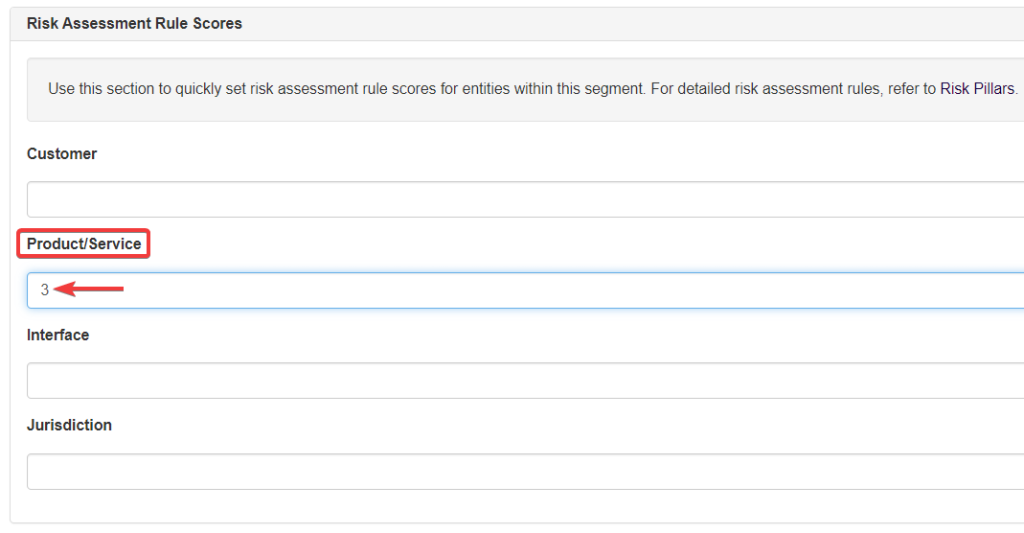
In order to do so, users can input the risk score (usually between 1 and 10, but in some cases between 5-100, depending on configuration) next to the appropriate risk pillar as shown below.
For this example, a risk score of 3 will be allocated under the Product/Service risk pillar. This will apply to any entity that falls into the segment (i.e. any entity that has accounting services assigned to them in the system), once said entity is risk assessed.
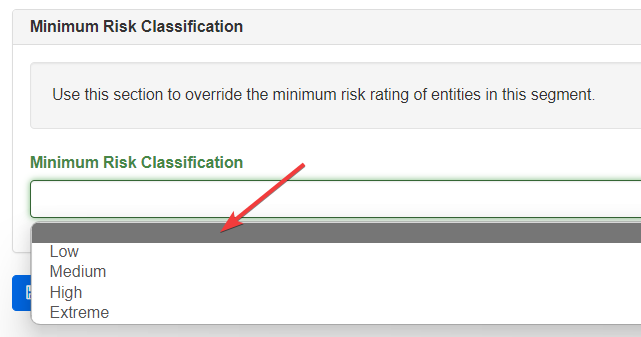
Also, if required users can select whether or not this risk score will override the average risk score of a Customer Risk Assessment.
In order to do so, users simply need to select the minimum classification, that will depend on their own configuration, that the Risk Assessment should carry. This can be done from the dropdown shown below:
Finally, users should click on Save. This will save the segment that has been built and will enact any risk scoring or overrides that are attached.

N.B. Any risk score or classification adjustment will affect all entities that fall into the segment and may cause some entities to come up for risk assessment, as there has been a material change that affects the Customer Risk Assessment, depending on the particular configuration.