Users may choose to have one or more risk pillars within the Customer Risk Assessment based on the values associated with the Custom fields options in the setup.
The Customer risk pillar is a common example of the pillar that is used to collate these values for the assessment.
Using the following guide, users can leverage the system Simplified Rules feature that allows them to score their custom fields’ risk as outlined below.
Step 1: Setting a Customer Risk Pillar
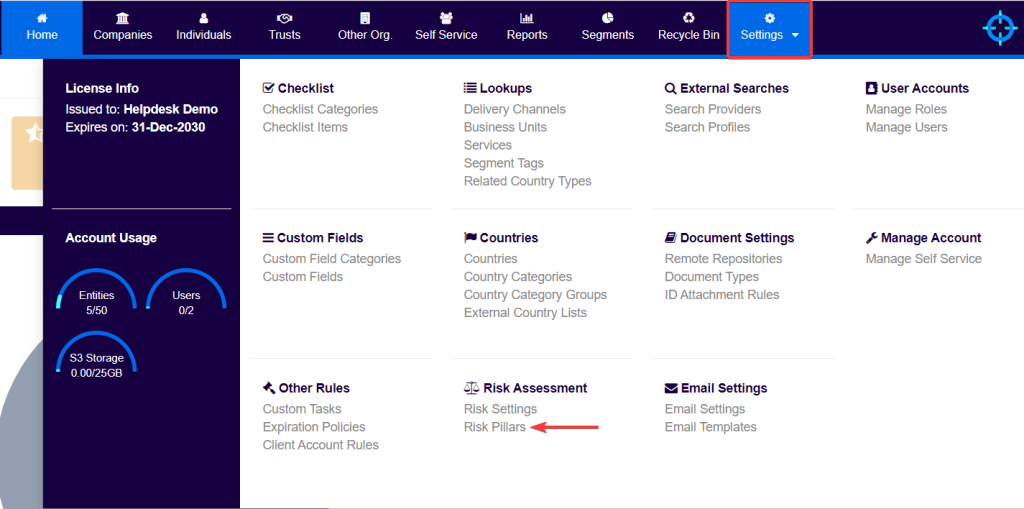
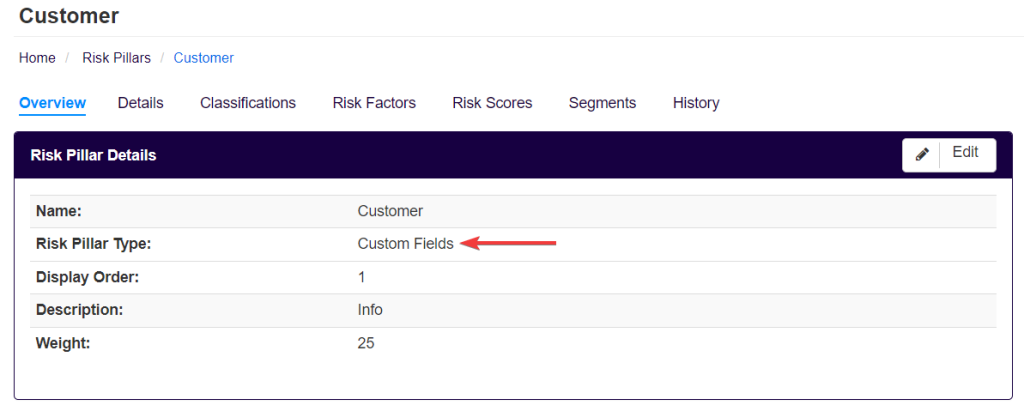
First, users should go to Settings, then to Risk Pillars and select (or create) a risk pillar with Risk Pillar Type set to Custom fields.
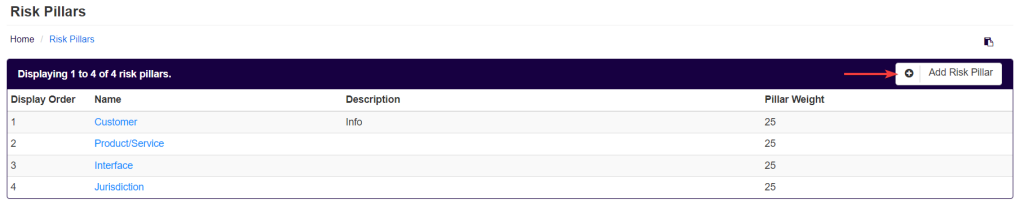
If users wish to create more customer risk pillars, they should click on the Add Risk Pillar button, after navigating to the Risk Pillars‘ screen from the Settings menu.
users will need to set up the custom fields related to the data they which to collect from clients. To do so, users should refer to our guide on how to add a custom field.
This step deals with associating one or more custom fields as being a risk factor for this risk pillar. If you have already associated all the relevant custom fields to risk pillars during the creation of the custom field, you can skip this step.
- Click on Risk Factors

- Click on Add Custom Field and select the custom field you would like to attach to this risk pillar and click Save.

- Repeat these steps for all risk factors.
Step 2: Add Risk Sources
- For every risk factor created, select the risk factor from the grid and then tick which entities/entity factors or associations are going to affect the score, as per the below and press Save.

The Risk Sources allows you to define how the custom field value of an entity effects risk ratings along this risk pillar.
For example, in this case we have selected “Entity” and “Ultimate Beneficial Owner”.
This means that the risk score for a serviced individual is based on the value of the “Is PEP” at the individual level (since we ticked “Entity”).
For serviced companies, the risk score is based on the PEP value of its UBOs.
There is a small explanation for each Risk Source, however, please contact support if you have any questions related to Risk Factors.
- After you have done this you should see the risk sources listed next to each risk factor:

- Repeat these steps for each custom field.
Step 3: Set up Risk Scores
- Click on the name of the custom field or navigate to the custom fields page via Settings > Custom Fields.

- Click on Edit to edit the custom field.

- If the custom field is a Yes/No field, enter the values for Yes/No risk scores in the fields as shown below. Note that you can also tick the option to override the risk score. This is useful in cases where your risk calculation mode is set to average such that the overall entity risk score is calculated based on the average across the risk pillars. If InScope is set up in this manner, and you tick the option to override the risk score average, then the custom fields values would automatically trigger a particular risk classification irrespective of the computed average. In this case, we have selected this option such so that if an entity is a PEP, then the entity is automatically classified as high risk.

- If the custom field is a choice field, you get the ability to assign a risk score for each option as shown below. This screen also allows you to add additional choice field options:

- Once you are done, click Save and repeat the steps for each custom field.
Step 4: Review Risk Pillar Rules
Once you have gone through all these steps, it is best to review all the rules that are included in a particular risk pillar by going back to Settings > Risk Pillars and selecting the appropriate pillar.
The screen will show you a consolidated view of all the risk factors, risk sources and risk scores:
