Step 1
Click on the Individuals tab at the top of the screen.
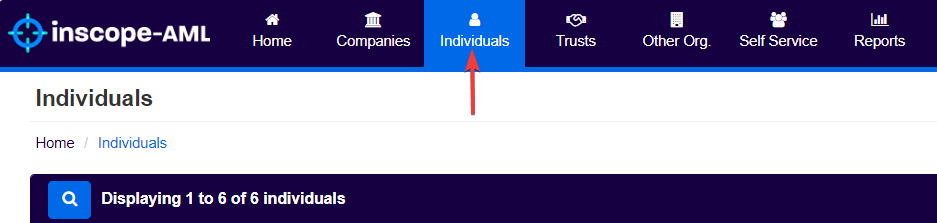
Step 2
The system will now display a list of Individuals currently entered into the database (if any).
Click on the Add Individual button to create a new entity profile.

Step 3
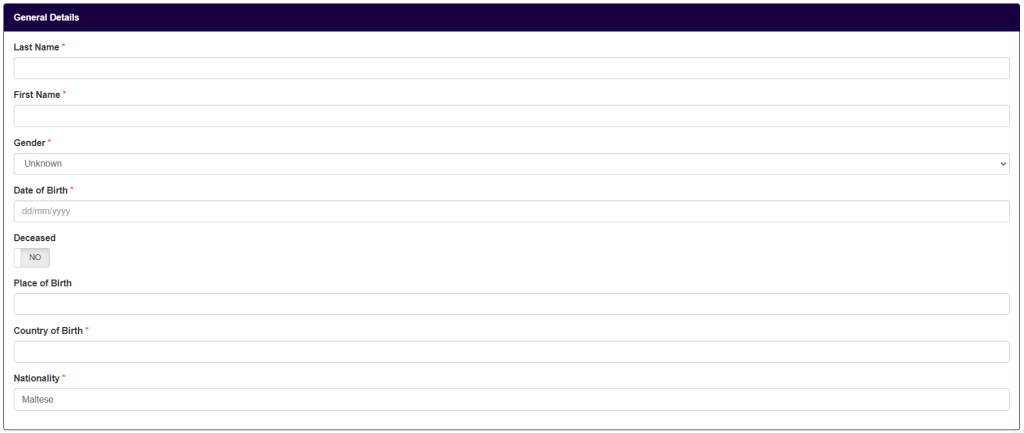
In this screen, users can enter all the information required to register an Individual in the system.
In the General Details section:
- Enter a Last Name.
- Enter a First Name.
- Select Gender.
- Enter a Date of Birth.
- Optionally, enter Place of Birth.
- Enter Country of Birth.
- Enter a Nationality.
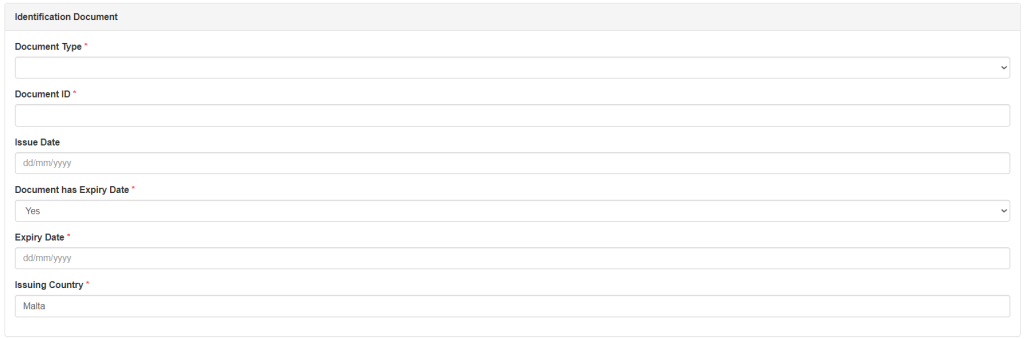
In the Identification Document section:
- Select a Document Type from the list provided, e.g. Passport.
- Enter the document number (e.g. Passport Number, ID Card Number, etc.) in the Document ID field.
- Optionally, enter the document’s Issue Date.
- Enter the document’s Expiry Date.
- Enter the document’s Issuing Country.
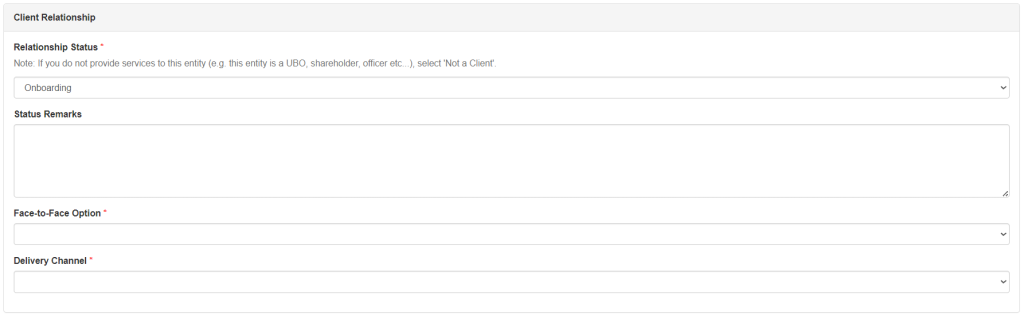
In the Client Relationship section:
- Select Relationship Status from the list provided. The options are:
- Onboarding: for clients that Subject Persons are planning to provide services to.
- Not A Client: if no services are provided to this Individual (e.g. this is an UBO, shareholder, officer, etc.).
- Optionally, enter any Status Remarks that further describe the relationship with this client.
- Select a Delivery Channel from the list provided. This describes how the Subject Person and the client made contact.
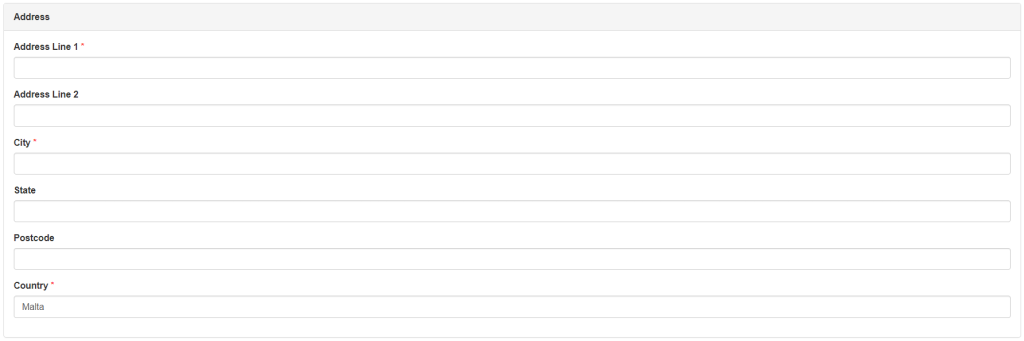
In the Address section:
- Fill in the Address Line 1 field.
- Optionally, fill in the Address Line 2 field.
- Enter a City.
- Optionally, enter a State.
- Optionally, enter a Postcode.
- Enter a Country.
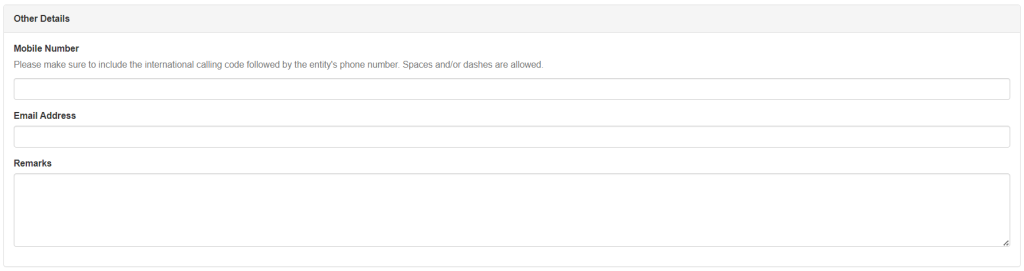
In the Other Details section:
- Optionally, enter a Mobile Number.
- Optionally, enter an Email Address.
- Optionally, enter any further Remarks Users may need to add.
Finally, in the Client References section, users may optionally enter an identification number that identifies this client in any other system Subject Persons use to store client information (e.g. a client relationship management system). This field helps users to correlate the same client across different systems.

If all required fields are filled correctly, users can now click the Save button at the bottom of the screen. If this is not the case, users can scroll up and fix the data entered in fields that have been marked in red.